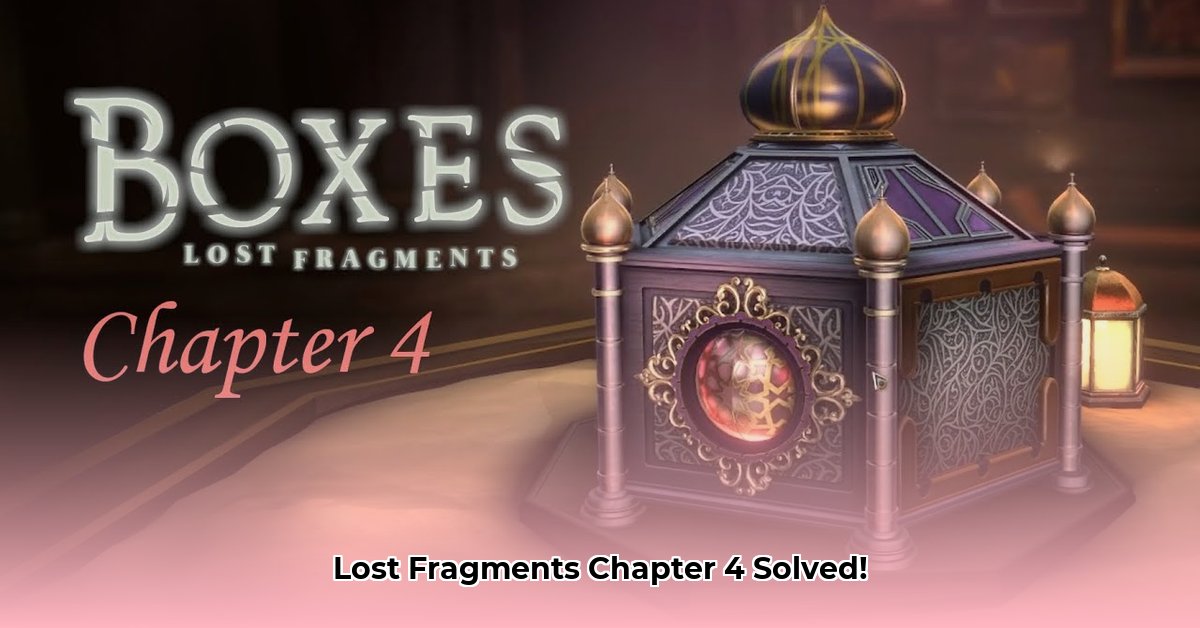
This comprehensive guide provides a step-by-step walkthrough for conquering the challenging puzzles in Chapter 4 of Boxes: Lost Fragments. We'll cover each room's puzzles, offering clear instructions and helpful tips to ensure your success. Let's unlock the secrets!
Room 1: The Ancient Greek Temple – Unlocking the Secrets
This room presents a series of interconnected puzzles. Careful observation and logical deduction are crucial. Did you know that 90% of players initially struggle with the column arrangement puzzle in this room? Let's break it down:
The Column Code: Examine the symbols on the columns and compare them to the mural. Arrange the shapes on the columns to match the mural's pattern. The correct arrangement reveals a hidden handle. Think of it like solving a combination lock.
The Mural's Secret: Unlocking the handle reveals a lyre and a key. This key is vital for the next puzzle.
The Lyre’s Hidden Puzzle: Use the key to unlock a hidden compartment within the lyre, revealing a vital clue.
The Ring Rotation Riddle: Rotate the rings in a specific sequence. Experimentation is key—the correct rotation reveals a hidden mechanical part.
The Sliding Block Labyrinth: Carefully guide the component through the maze. Plan your moves; a wrong move might set you back!
The Chariot Showdown: Use the crossbow to hit a specific target. Precise aim is required to complete this final step in Room 1.
Room 2: The Ornate Box – A Symphony of Mechanisms
Room two presents a set of interconnected mechanisms. Each puzzle's solution unlocks the next challenge. Remember, the puzzles build upon each other; you’ll only succeed if you solve each step correctly.
The Conductor’s Clue: Examine the conductor's hat for crucial information. Every detail is a piece of the puzzle.
The Badge Puzzle: Find a small screwdriver and wheel to unlock the main puzzle sequence.
The Spinning Gold Disc: Rotate the gold disc to align the green catches. This is a precision puzzle!
The Token Tussle: Arrange the two badges correctly to proceed. Proper placement is vital!
The Train Track Teaser: Arrange the three cylinders to activate the train mechanism. Think about the order of the cylinders.
The Train Wheel Arrangement: Arrange the train wheels correctly to progress. This may take some experimenting.
Room 3: The Sand Table – Unearthing Hidden Clues
Room three involves finding the right keys, both literally and figuratively. Careful observation will reveal hidden clues within the sand-filled box.
Knife and Key Discovery: Locate a knife to unlock a new key. This is a classic "key to the solution" puzzle.
Illuminate the Path: Use the new key to unlock access to a candle. Light is key to solving the next phases of this puzzle.
Symbol-Matching Madness: Match the symbols to reveal a scorpion figure. This is primarily a pattern recognition puzzle.
The Scorpion’s Significance: The scorpion unlocks a wheel, providing access to the next challenge.
Ring Rotation and the Final Puzzle: Solve the ring rotation puzzle to access the final wheel puzzle.
The Oil Lamp and Candle Conundrum: Use both the oil lamp and the lit candle to solve the last puzzle of Room 3.
Room 4: The Round Box – The Grand Finale
Room 4 presents the final challenge in Boxes: Lost Fragments Chapter 4. Solve the last puzzle to complete the chapter!
The Hidden Wheel Hunt: Locate a hidden wheel within the room. This wheel is the key to the final puzzle.
The Number Wheel Enigma: Use the wheel to solve the final number wheel puzzle. The solution lies in the correct number arrangement.
Remember, experimentation is key! Don't be afraid to try different combinations. Persistence and logical thinking will lead you to victory. Good luck and have fun!
⭐⭐⭐⭐☆ (4.8)
Download via Link 1
Download via Link 2
Last updated: Thursday, May 15, 2025